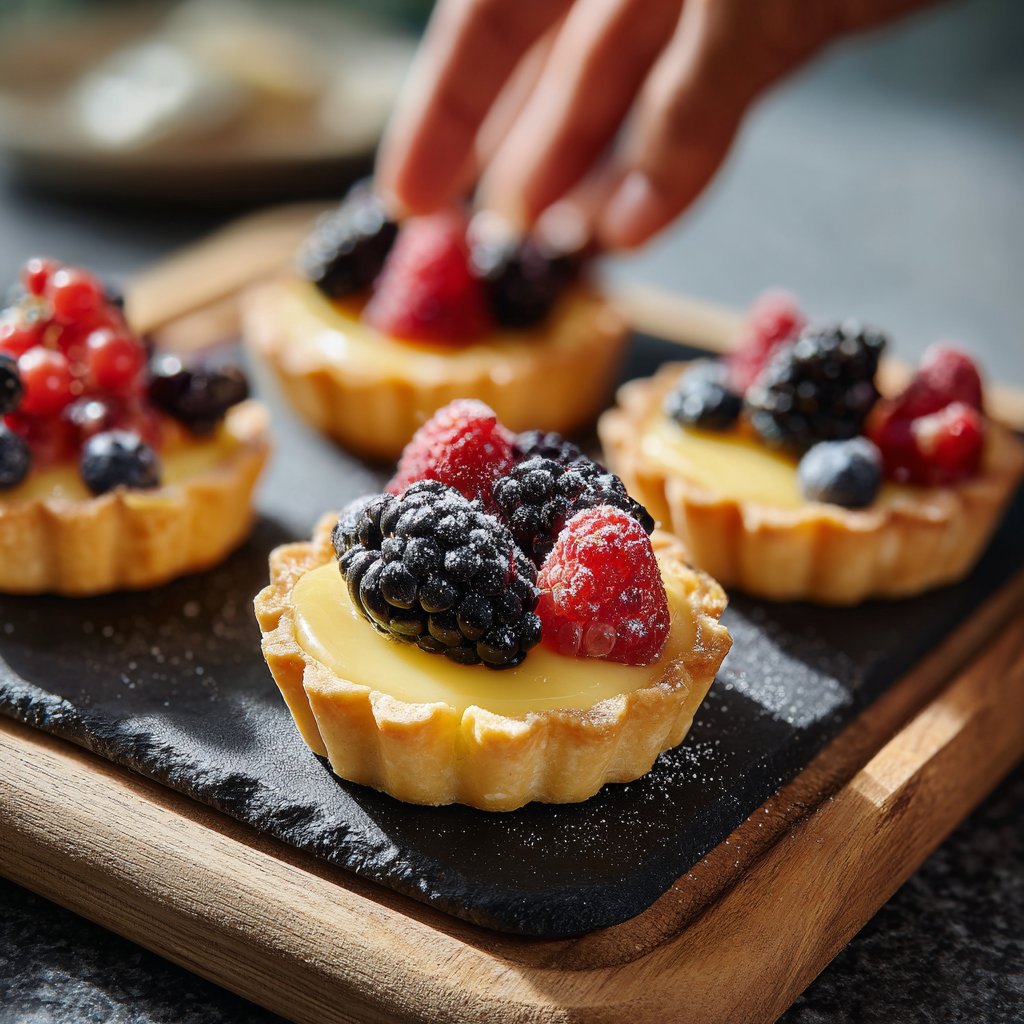
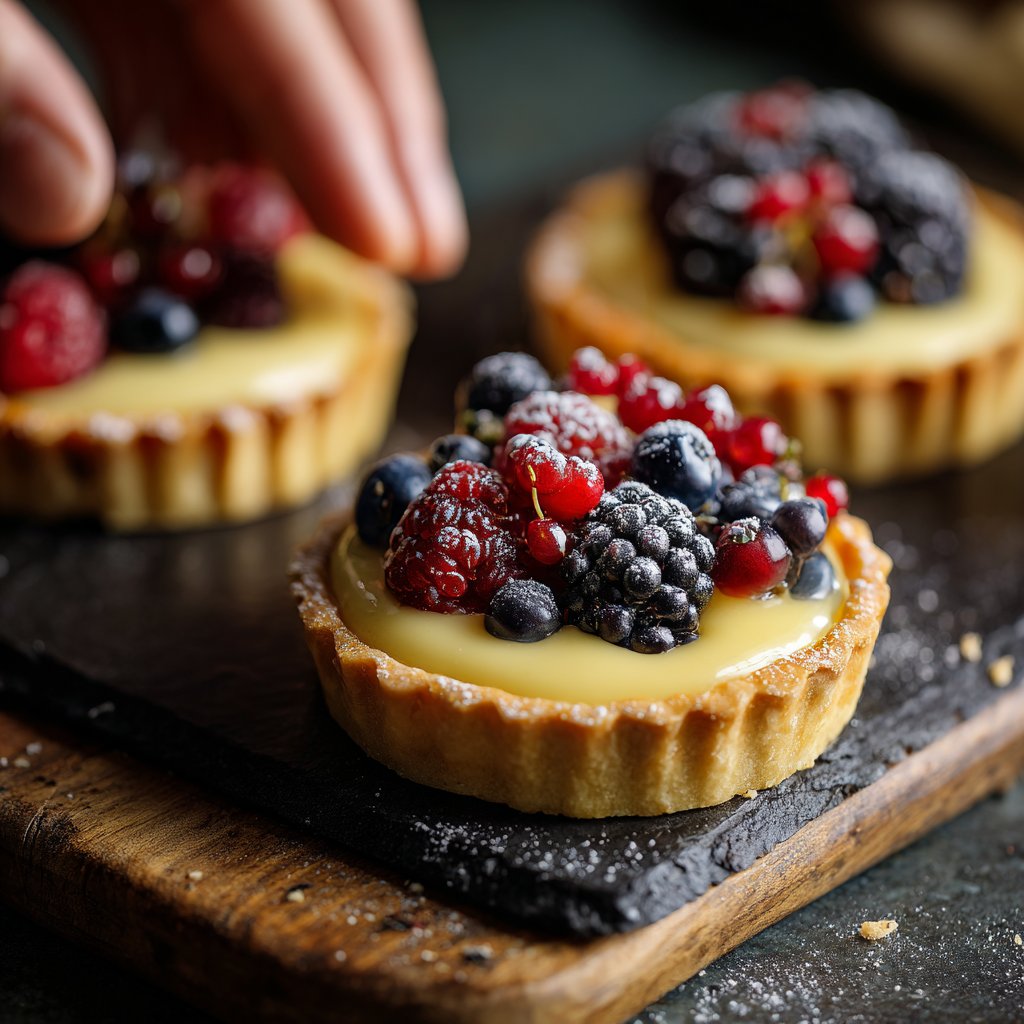
Mini Lemon Tarts with Berries
Highlighted under: World Feast | Global Banquet
I love whipping up these Mini Lemon Tarts with Berries whenever I need a refreshing dessert that’s both beautiful and delicious. Each bite bursts with a zesty lemon filling complemented perfectly by a medley of fresh berries. The buttery tart crust adds a delightful crunch, making these the ideal treat for any occasion. Whether it's a family gathering or an intimate dinner, these mini tarts always impress and leave everyone craving more. Plus, they’re surprisingly simple to make, which is a bonus in my book!
When I first made these Mini Lemon Tarts with Berries, I was searching for a dessert that combined ease and elegance. The balance of tangy lemon and sweet berries felt like a match made in heaven. I learned that chilling the tart shells before filling them helps keep everything intact, preventing sogginess and letting those vibrant colors shine through.
Now, I experiment with different berry combinations based on what’s in season. Each time they turn out just as delightful, proving that this recipe is as versatile as it is delicious. Trust me, these little morsels are a guaranteed crowd-pleaser!
Why You'll Love This Recipe
- Bright lemon flavor paired with fresh, juicy berries
- Light and flaky crust that melts in your mouth
- Perfect for summer gatherings or as a refreshing treat
Perfecting Your Tart Shells
When making the tart shells, it's essential to ensure that the butter is softened but not melted. This texture helps create a flaky crust, as melted butter can lead to a dense and tough outcome. Mix until the dough is just combined; overworking can develop gluten, which will affect the final texture. After pressing the dough into the mini muffin tin, make sure to chill it for at least 15 minutes, as this helps prevent shrinking during baking.
As you bake the tart shells, keep an eye on them to gauge the level of doneness. They should be lightly golden brown around the edges. If your oven runs hot, consider reducing the temperature to prevent over-browning. Once baked, allow them to cool completely before filling. This step is crucial because hot crusts can lead to a runny filling.
Crafting the Lemon Filling
The success of the lemon filling lies in balancing the tartness of the lemon juice and the sweetness of the sugar. Fresh lemon juice and lemon zest provide bright flavors that help to mitigate the sweetness. If you prefer a less tart filling, consider reducing the lemon juice to 1/3 cup while slightly increasing the sugar to 3/4 cup. Whisk the ingredients together until the mixture is smooth and glossy; this ensures a uniform texture in your tarts.
Don’t skip the heavy cream in your filling—it adds richness and contributes to the filling’s silky mouthfeel. If you're looking for a lighter version, you can substitute with half-and-half or even a non-dairy cream alternative, like coconut cream, but the flavor will change slightly. When pouring into the tart shells, fill them only 3/4 full as they will puff a little while baking.
Serving and Storing Tips
These mini lemon tarts can be made ahead of time, which is ideal for entertaining. After baking and cooling, store them in an airtight container in the refrigerator for up to 3 days. However, add fresh berries just before serving to maintain their freshness and prevent the crust from becoming soggy. If you're planning a larger gathering, consider making a double batch; they freeze beautifully, allowing you to enjoy a quick treat anytime.
For variations, feel free to experiment with different berries or even a citrus medley. For instance, adding some diced kiwi or sliced stone fruits brings creative flair. Presentation is key, so consider serving them on a decorative platter. A dusting of powdered sugar or a drizzle of berry coulis can elevate the overall appearance and flavor, providing an extra touch for guests.
Ingredients
Gather your ingredients before you start for an easier cooking experience.
For the Tart Shells
- 1 cup all-purpose flour
- 1/4 cup powdered sugar
- 1/2 cup unsalted butter, softened
- 1/4 teaspoon salt
- 1 egg yolk
- 1 tablespoon cold water
For the Lemon Filling
- 1/2 cup fresh lemon juice
- 1 tablespoon lemon zest
- 2/3 cup granulated sugar
- 3 large eggs
- 1/4 cup heavy cream
For Topping
- 1 cup mixed fresh berries (blueberries, raspberries, strawberries)
- Mint leaves for garnish (optional)
Make sure to wash your berries before using them for the best flavor!
Instructions
Follow these steps carefully for the best results.
Make the Tart Shells
In a mixing bowl, combine flour, powdered sugar, and salt. Add softened butter and mix until crumbly. Stir in the egg yolk and cold water until dough forms. Divide and press the dough into a mini muffin tin and chill in the refrigerator for 15 minutes. Preheat the oven to 350°F (175°C). Bake the crusts for 15 minutes or until lightly golden. Remove from the oven and let cool.
Prepare the Lemon Filling
In a bowl, whisk together the lemon juice, lemon zest, sugar, and eggs until well combined. Add the heavy cream and whisk again. Pour the mixture into the cooled tart shells, filling them about 3/4 full.
Bake the Tarts
Return the tarts to the oven and bake for an additional 15-20 minutes, or until the filling is set but still slightly jiggly in the center. Remove from the oven and cool to room temperature before refrigerating for at least 30 minutes.
Serve with Berries
Just before serving, top the chilled tarts with a mix of fresh berries. Garnish with mint leaves if desired.
Enjoy your delicious Mini Lemon Tarts, and don't forget to share the joy!
Pro Tips
- For an extra punch of flavor, try adding a bit of berry puree to the lemon filling before baking. It'll create a beautiful marbled effect and enhance the overall taste.
Troubleshooting Common Issues
If your tart shells turn out too crumbly, it might be due to not enough moisture in the dough. To fix this, add a teaspoon of cold water at a time until the dough holds together without being sticky. Conversely, if the dough feels too wet and sticky, sprinkle in a little more flour slowly until you reach the right consistency. Knowing how your dough should feel can save your tarts from becoming tough.
Another common issue is the filling curdling during baking, usually because of excessive heat. To prevent this, bake at the recommended temperature and keep an eye on them while they are in the oven. If you see the edges of the filling start to bubble aggressively, it’s a sign you've gone too far—immediately take them out to cool.
Ingredient Substitutions
If you're out of powdered sugar, you can make your own by blending granulated sugar in a food processor until it is fine and fluffy. It's a straightforward substitution, and it maintains the sweetness needed in the tart shell without compromising the texture. Additionally, for those avoiding gluten, a gluten-free all-purpose flour blend can work well in this recipe with similar results.
For those who wish to adjust the sweetness or acidity levels, consider using honey or maple syrup instead of granulated sugar in the lemon filling. Keep in mind that you might need to reduce the amount slightly, as both honey and maple syrup can be sweeter than sugar.
Scaling Up the Recipe
This recipe can easily be scaled up for larger gatherings. To make a dozen instead of six, simply double the ingredients and use a standard muffin tin. Longer baking times might be required, so check for doneness after 20 minutes and adjust accordingly. Baking in batches can also help if you don't have a larger tin available; just keep an eye on the first batch so you can time your second batch appropriately.
When scaling up, preparing tart shells in advance can save you time. Consider making and chilling a double batch of dough, then baking them all at once. The lemon filling can also be made in advance and stored in the fridge, making the assembly for a large crowd seamless and stress-free.
Questions About Recipes
→ Can I use store-bought tart shells?
Yes, using store-bought shells can save time, but homemade ones offer better flavor and texture.
→ How can I prevent the crust from getting soggy?
Make sure to bake the tart shells until they are golden and cool completely before adding the filling.
→ Can I make these tarts in advance?
Yes, you can prepare the tart shells and lemon filling a day in advance. Assemble with berries just before serving for the best taste.
→ What other fruits can I use?
Feel free to experiment with different berries or even diced peaches and nectarines for a twist!
Mini Lemon Tarts with Berries
Created by: The Dishroots Team
Recipe Type: World Feast | Global Banquet
Skill Level: Intermediate
Final Quantity: 12 tarts
What You'll Need
For the Tart Shells
- 1 cup all-purpose flour
- 1/4 cup powdered sugar
- 1/2 cup unsalted butter, softened
- 1/4 teaspoon salt
- 1 egg yolk
- 1 tablespoon cold water
For the Lemon Filling
- 1/2 cup fresh lemon juice
- 1 tablespoon lemon zest
- 2/3 cup granulated sugar
- 3 large eggs
- 1/4 cup heavy cream
For Topping
- 1 cup mixed fresh berries (blueberries, raspberries, strawberries)
- Mint leaves for garnish (optional)
How-To Steps
In a mixing bowl, combine flour, powdered sugar, and salt. Add softened butter and mix until crumbly. Stir in the egg yolk and cold water until dough forms. Divide and press the dough into a mini muffin tin and chill in the refrigerator for 15 minutes. Preheat the oven to 350°F (175°C). Bake the crusts for 15 minutes or until lightly golden. Remove from the oven and let cool.
In a bowl, whisk together the lemon juice, lemon zest, sugar, and eggs until well combined. Add the heavy cream and whisk again. Pour the mixture into the cooled tart shells, filling them about 3/4 full.
Return the tarts to the oven and bake for an additional 15-20 minutes, or until the filling is set but still slightly jiggly in the center. Remove from the oven and cool to room temperature before refrigerating for at least 30 minutes.
Just before serving, top the chilled tarts with a mix of fresh berries. Garnish with mint leaves if desired.
Extra Tips
- For an extra punch of flavor, try adding a bit of berry puree to the lemon filling before baking. It'll create a beautiful marbled effect and enhance the overall taste.
Nutritional Breakdown (Per Serving)
- Calories: 210 kcal
- Total Fat: 12g
- Saturated Fat: 7g
- Cholesterol: 70mg
- Sodium: 150mg
- Total Carbohydrates: 25g
- Dietary Fiber: 1g
- Sugars: 10g
- Protein: 2g